FREE US SHIPPING WITH CASTING PURCHASE OVER $75! | SHOP CASTINGS
FREE US SHIPPING WITH CASTING PURCHASE OVER $75! | SHOP CASTINGS
Castings
Classes
3M Bristle Discs
January 13, 2015 1 min read
We use bristle discs a lot at the studio. They are amazing for cleaning up, sanding down and polishing your metal.

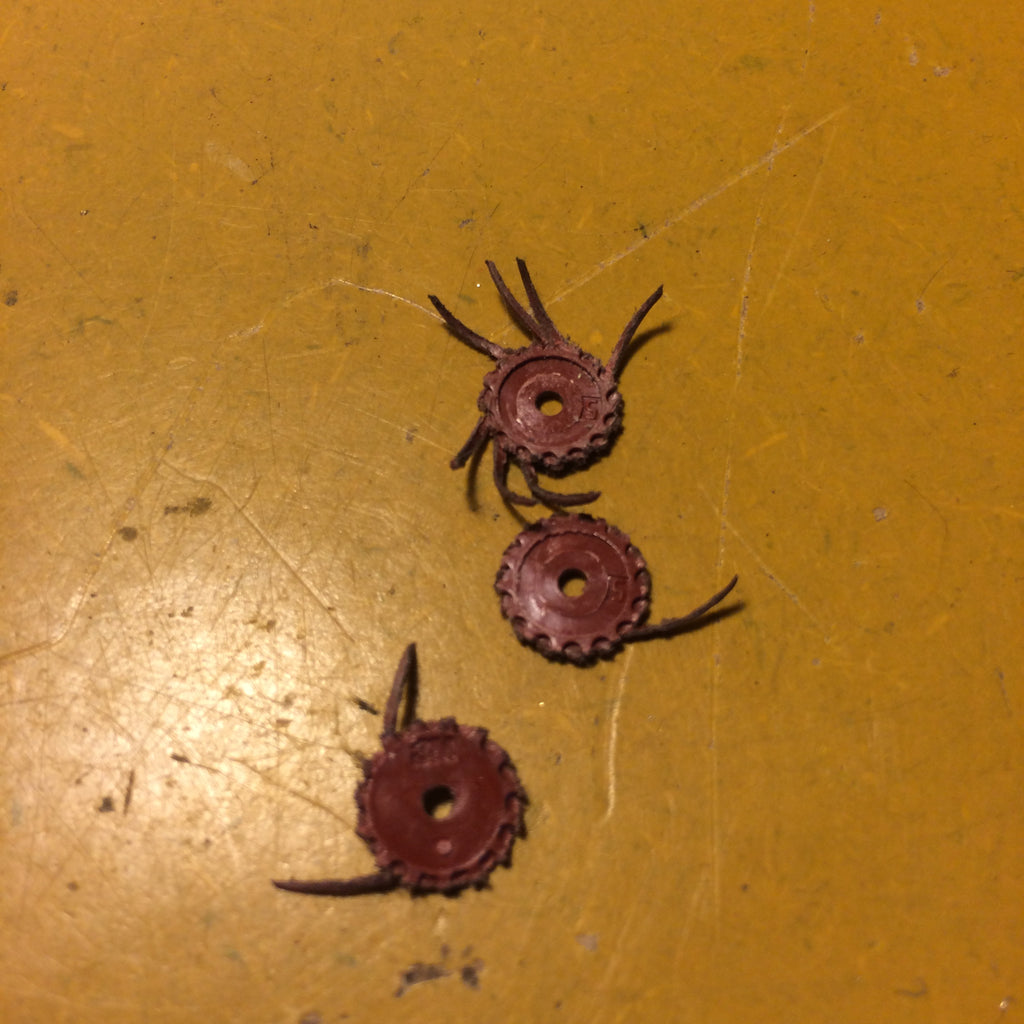
This is a great example of bristle discs that have been put in the wrong way. They will get eaten up quickly.
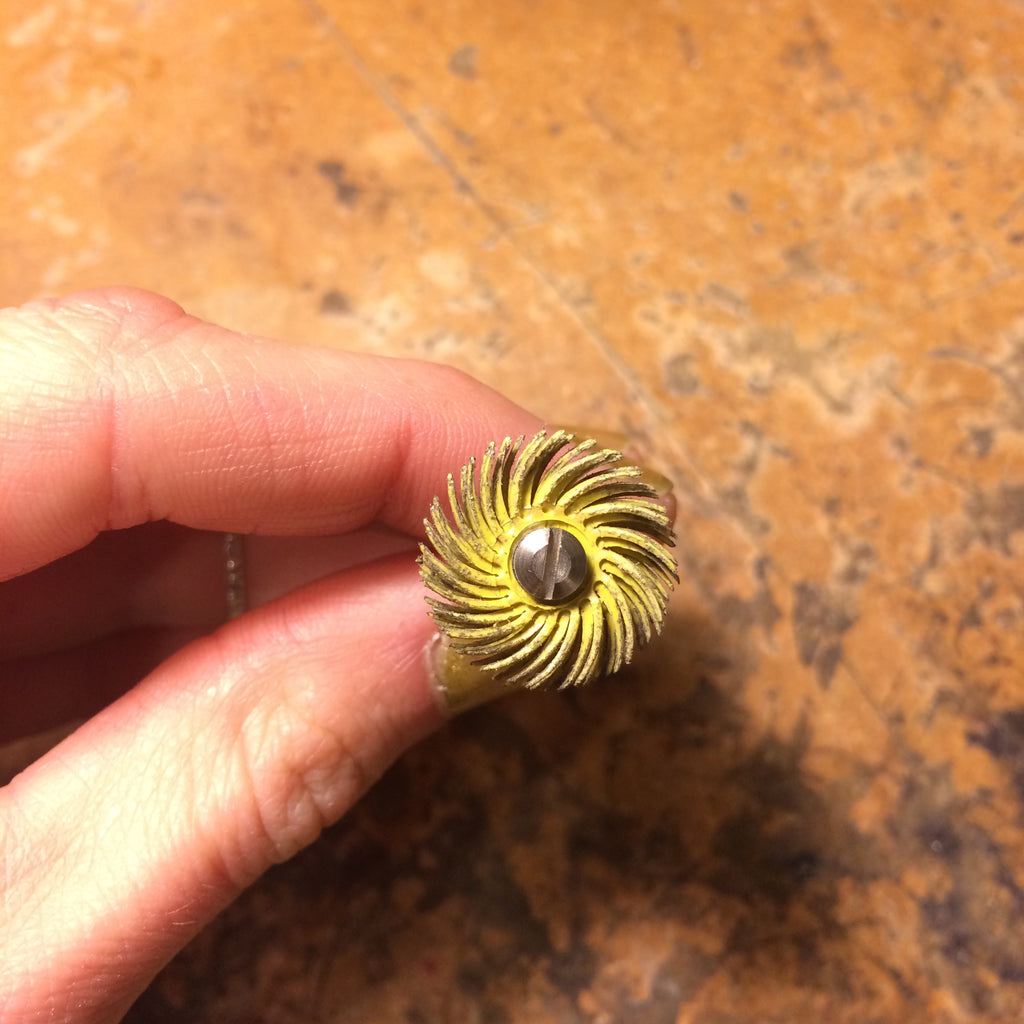
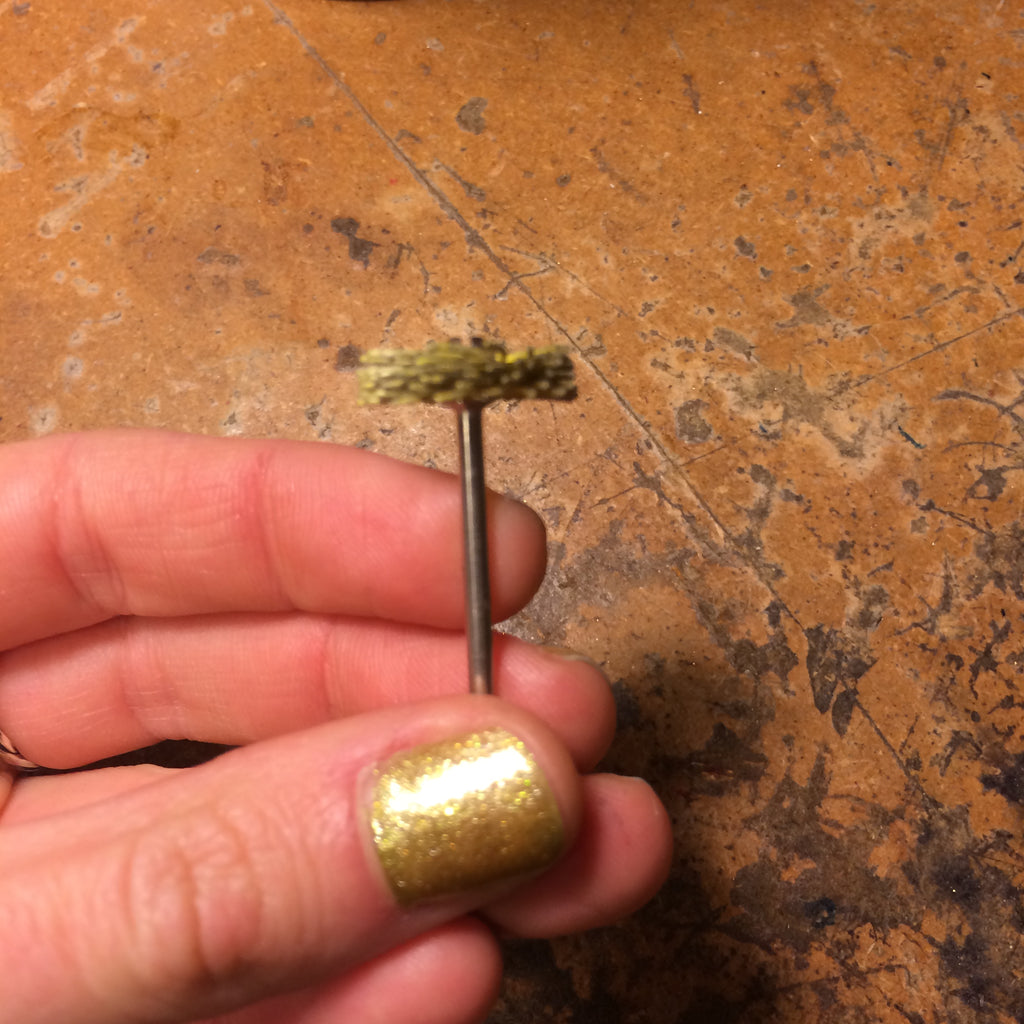
Make sure you put them on your mandrel properly. The arms should be facing toward the right when you are looking down at the screw. You need to put a minimum of 3 discs on the mandrel up to a maximum of 6 discs on a mandrel.
Bristle discs come in a variety of colors/grits. We typically use the 3/4" diameter discs in the studio. For our Jewelry 1 class, we use yellow, red and blue colors. Here are the corresponding colors and grits. You use the discs in order from the heaviest grit to the finest.
•Yellow = 80-grit
•Red = 220-grit
•Blue = 400-grit
•Pink = pumice
•Peach = 6 microns
•Light Green = 1 micron
If you're going to use them, you will need to get a mandril to fit them as well. I like these bristle disc mandrils because they fit into my quick change handpiece which only allows a 3/32 size shank.
Leave a comment
Comments will be approved before showing up.


